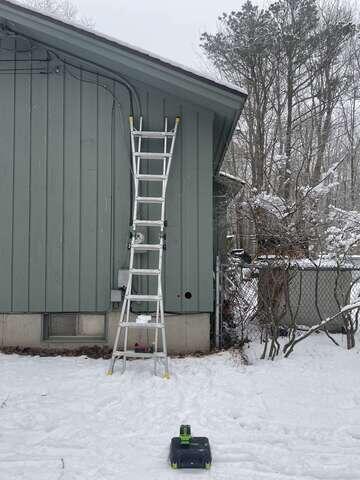
Before Installation
Our radon experts surveyed the home first to assess the best placement for the radon mitigation system.

Manometer
The U-Tube shows a great flow which indicates the radon fan is working.
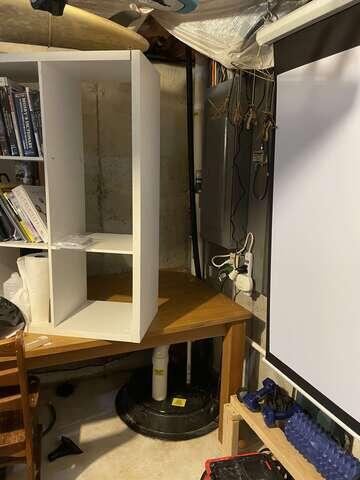
Sump Pit
We run the bottom piece of pipe several inches into the sub-slab pit. Placed the backer rod between the outside of the pipe and the slab, then sealed the joint.
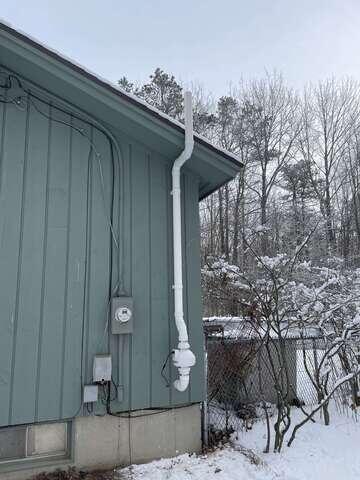
After Installation
This is the exterior of the house after the installation