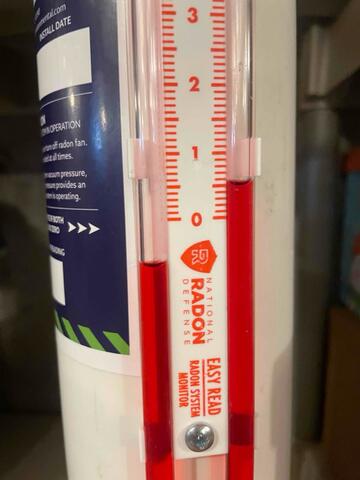
Manometer Installation
A manometer was strategically placed near the fan to provide a visual indication of the negative pressure created by the system. This negative pressure is crucial for effectively drawing radon gas out of the basement and venting it outdoors.
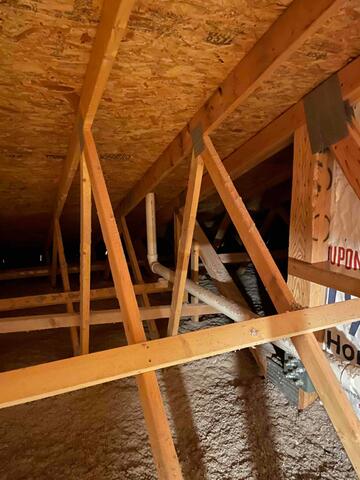
Radon Pipe Connection
Our technicians securely attached the radon fan to the existing radon pipe, ensuring a proper seal and efficient gas extraction.
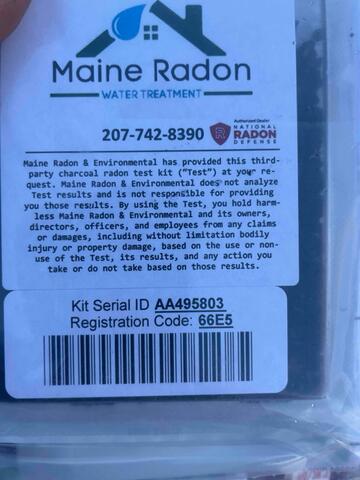
Test Kit
To confirm the system's effectiveness, we provided the homeowner with a follow-up radon testing kit.
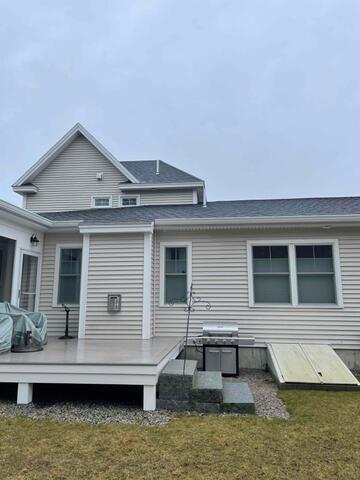
Electrical Connection
Collaborating with the homeowner's electrician, we ensured a safe and functional electrical connection for the newly installed radon fan, powering the system for optimal performance.